Another speed-painted Black Templar here - a Marshall using the stock AoBR Captain with no conversions.
 |
 |
Twice as old as most other 40K blogs but with half the content.
Another speed-painted Black Templar here - a Marshall using the stock AoBR Captain with no conversions.
 |
 |
Posted by
Gavin Schofield
at
17:48
0
comments
![]()
Labels: Black Templar, Gavin, Painted Models, Painting / Modeling, Space Marines
This was painted as an exercise to see how quickly I could get a walker finished. I used very simple painting techniques to speed things up, and I managed to get it finished far quicker than any of my Blood Angel dreadnoughts! Click on the images to enlarge.
Posted by
Gavin Schofield
at
15:48
0
comments
![]()
Labels: Black Templar, Gavin, Painted Models, Painting / Modeling, Space Marines
Posted by
Gavin Schofield
at
00:35
1 comments
![]()
Labels: Blood Angels, Gavin, Painting / Modeling, Space Marines
We've all made mistakes when modelling or painting our miniatures, both small and large. Even the largest mistakes can be covered up by sheer ingenuity, as this Land Speeder and Land Raider from the Drunken Samurai aptly show. I have never had to cope with that, the nearest I've been is 3 coats of paint on a Rhino - although there is a mistake recently that I've had to cover.
Whilst painting my latest batch of Blood Angels, I slipped with the brush and covered a portion of a face with a black streak of paint - no big deal really, as I could just re coat it. There was also one more thing nagging me about that models head though, while I was assembling it I was really sloppy with the mould lines on that side of his face. This was my Plasma Cannon marine for a tactical squad, so I decided that at some point in the past his cannon had misfired on him, leaving him horribly scarred....
Posted by
Gavin Schofield
at
00:44
6
comments
![]()
Labels: Blood Angels, Gavin, Jawaballs Painting Competition, Painting / Modeling, Space Marines

Posted by
Gavin Schofield
at
16:34
0
comments
![]()
Labels: Blood Angels, Gavin, Painting / Modeling, Space Marines

Posted by
Gavin Schofield
at
13:49
3
comments
![]()
Labels: Gavin, Painting / Modeling
 I thought they looked great, especialy since I put pretty much no time or effort into them. Unfortunately, I don't collect Eldar, so they were pretty useless to me. I've decided to put some Quickshade to use on an army I actualy collect, Empire. Here is a handgunner painted in a very basic scheme of Iyanden Darksun / Blood Red.
 Pretty rubbish looking, and the photgraphs don't help at all. I then dipped the model, left it to dry and applied Matt Varnish. Unlike my Guardians this didn't work perfectly first time, the yellow had turned into a Vomit Brown, although I was pleased with the Red, the face and the gun. I think the solution for this would be to use a cheap molehair paintbrush to liberaly splash the shader on the model, leaving less splotches.
Posted by
Gavin Schofield
at
17:25
2
comments
![]()
Labels: Empire, Fantasy, Gavin, Imperial Guard, Painted Models, Painting / Modeling, Quickshade
This is a step by step guide for painting Blood Angels using my method. It's almost certainly not the best looking way to paint Red, nor is it the easiest, but I think it's a nice medium between a quick basic paintjob and a hyper-detailed aproach. I'm mainly writing this down as a record, just in case I ever forget the exact details.

 Step Three
Posted by
Gavin Schofield
at
01:28
1 comments
![]()
Labels: Blood Angels, Gavin, Painted Models, Painting / Modeling, Space Marines, Tutorial
I recently picked up a tin of this stuff. If it did what it said on the tin, I could finally finish some of the armies that I just can't bring myself round to paint, like the Empire I have sat in a box in the loft.
I decided to test it on an Eldar Guardian, because I had a strange urge to paint some Eldar. The colour scheme is base on Adam FitzGerald's Eldar army, because they rock.
I first slapped on a quick layer of Hormagaunt Purple, with Skull White and Iyanden Darksun in places, with Blood Red Eyes. Took me about 5 seconds, and that's it. I added some sand to the base and simply painted that Khemro Brown, although that was after the picture was taken.
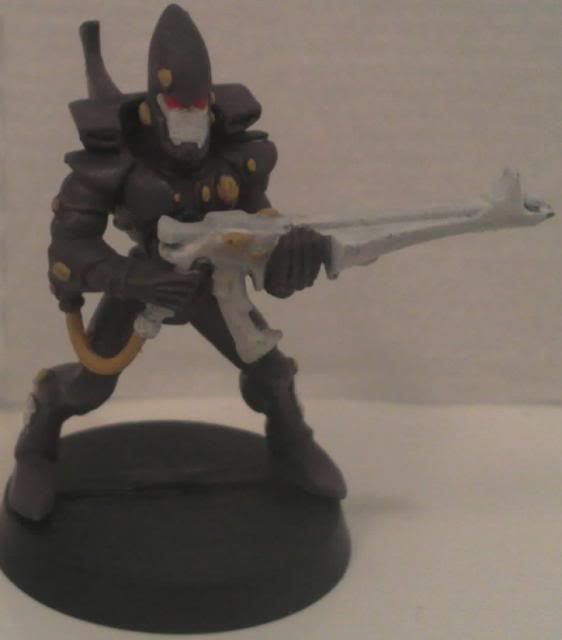
Apologies for the poor quality of the picture.
I then dipped it into the quickshade, shook it off and left it to dry for 12 hours. I then painted the bases rim black, and sprayed with Matt varnish.
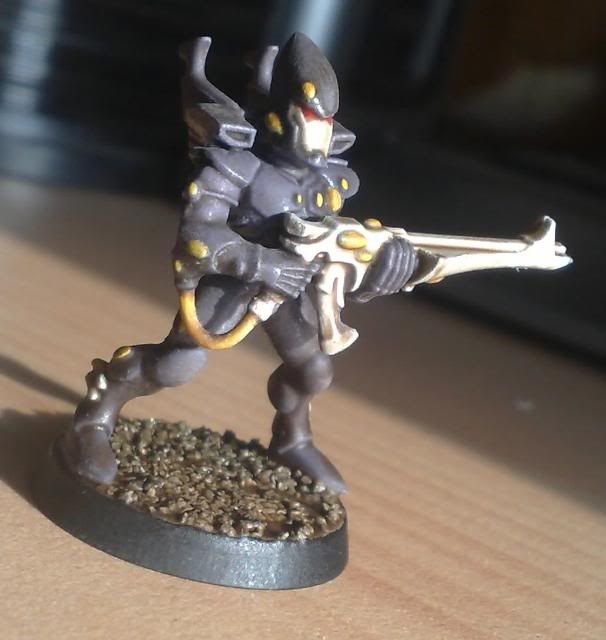
I'm actually quite impressed with this stuff. I once tried the same with Wood Stain (inspired by a thread on WarSeer), but it failed. I'm definitely gonna use this stuff to finish my Empire, and may even start an Eldar army painted this way. Not gonna touch my Blood Angels with it though, I prefer the results from 'real' painting.

Posted by
Gavin Schofield
at
14:25
1 comments
![]()
Labels: Eldar, Gavin, Painted Models, Painting / Modeling, Quickshade
Since I use Dev's in all my lists, it's high time I got some painted. Heres they are, in all their basecoated glory. Not much to look at, they need a lot of work yet.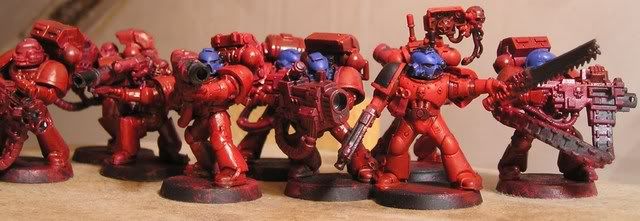 -Gavin
Posted by
Gavin Schofield
at
00:19
0
comments
![]()
Labels: Blood Angels, Gavin, Painting / Modeling, Space Marines
Hello there! I have decided to do a WIP for my Necron Monolith - as you can see in the picture below, it is of the same colour scheme as my warriors. 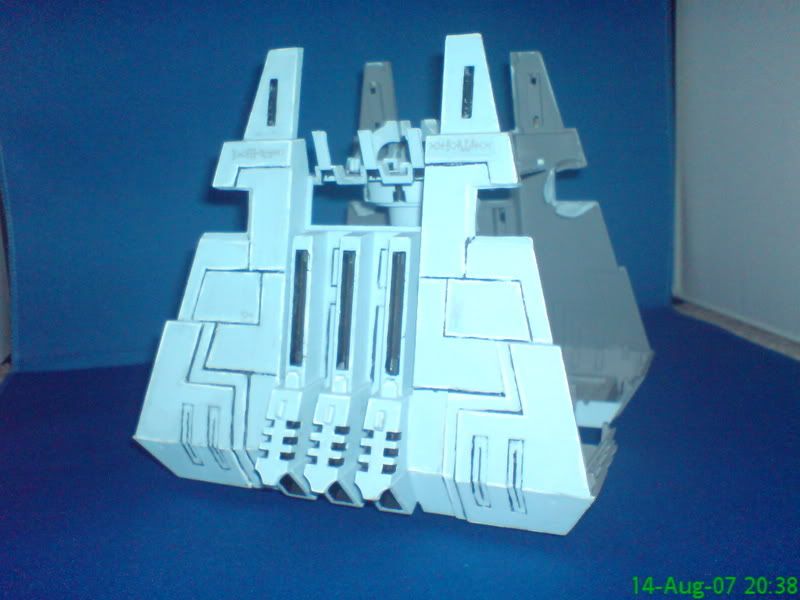
So far I've done two sides, the base and the column, theyre pretty roughly painted at the moment and I could do with touching them up a little. Next up will be putting the guns on along with the other two sides. All four sides are meant to hold the guns in place in glued so that they are flexible! Anywho I shall keep you guys updated when I do some more.
-Alex
Posted by
Alex
at
20:45
1 comments
![]()
Labels: Alex, Necrons, Painting / Modeling
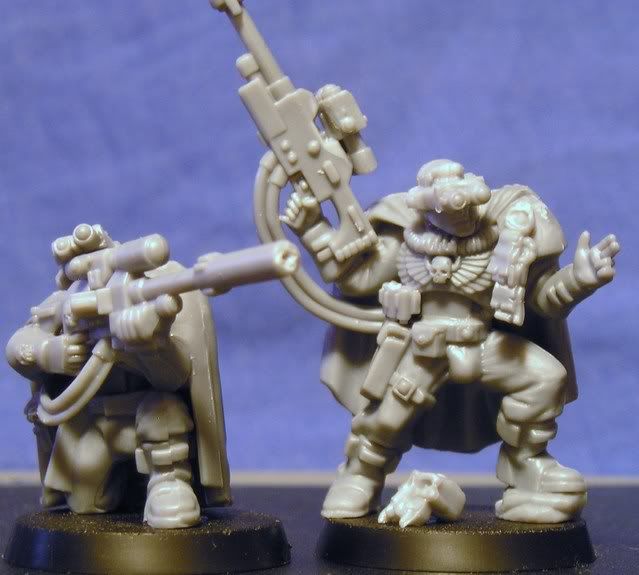
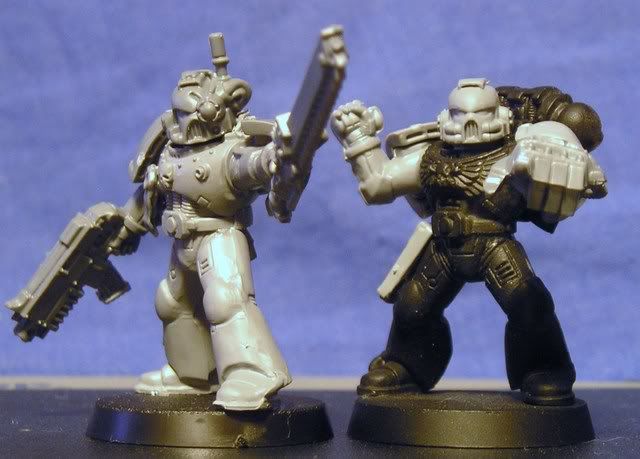
I've recently bought some more units to fit into my list, and have also been given a load of goodies by Alex - my army is taking shape! I shouldn't have to proxy models for much longer.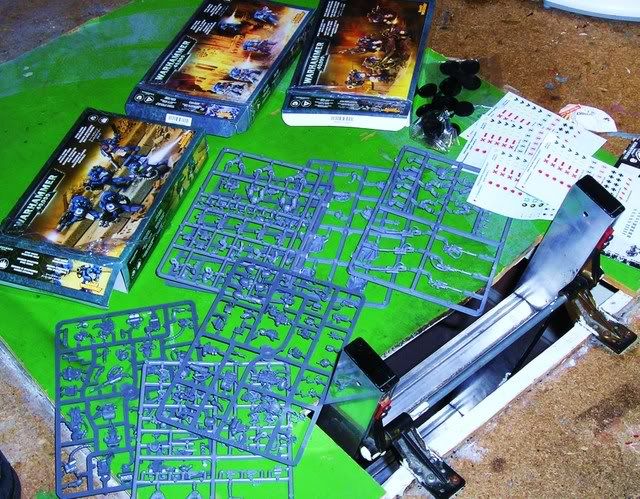
Here is a summary of my new Blood Angels:
HQ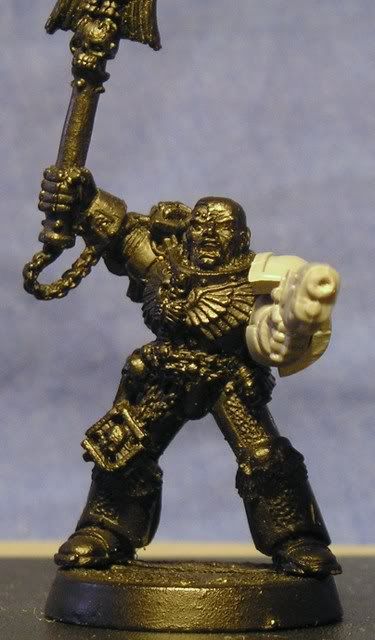
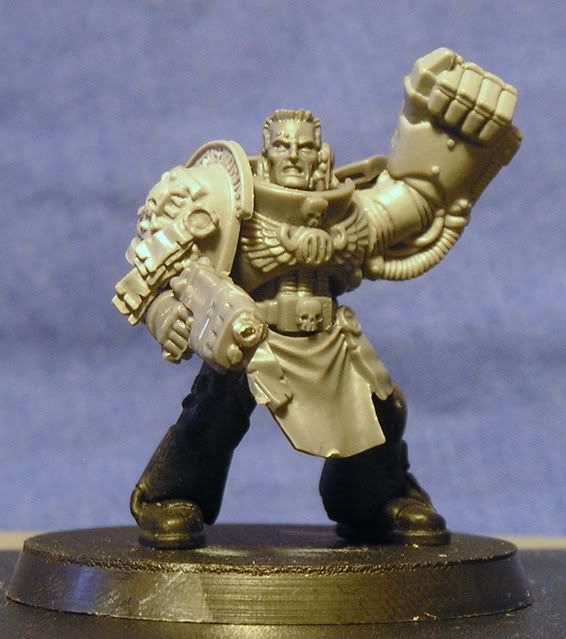
I already owned a Chaplain with jump pack, which was serving me nicely. To that I can now add a Chaplain on foot (should I need one, for some reason), and a converted Jump Pack captain. The Chaplain was a gift from Al, and I couldn't resist making the captain up from my bits box. Backpacks need to be added, and I want to change the Chaplains base for a large round one, a habit of mine - to distinguish the officers from the troops and veterans.
I have also been given two identical Sanguinary Priests (Blood Angel medics). I shall probably give one a jump pack, just in case.
Devastators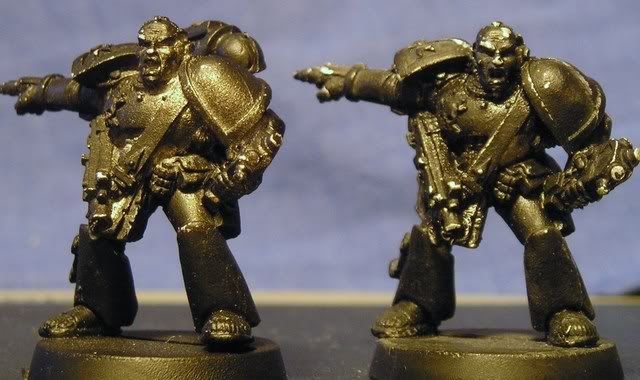
By combining the plastic Devastator box and a plastic Combat Squad box with my bits box (which is full of metal heavy weapons, for some reason), I can assemble:
Posted by
Gavin Schofield
at
23:39
3
comments
![]()
Labels: Alex, Blood Angels, Gavin, Painting / Modeling, Space Marines

Hey there!
It's 1:45 in the morning, and I really should be getting bed soon. I have work in the morning don't you know! Instead I've decided to write this really short article/advertisement, to help anyone who had a messy bits box.
Believe it or not, for 3 years my bits box was just a box full of bits, completely unordered. After that, it became a bigger box, then a big box and a small box, eventually 2 big boxes. Throughout all 7 years of complete Bits Box chaos, I never once thought of organizing them in any way at all.
Recently, I've found the solution - or my solution, at any rate. It might seem obvious to most people, but small boxes with dividers are perfect. Although they are meant for use with electrical components, it's as if they were designed for modeling.
This one here is the one I use for my 40K armies, with each army having one for it's bits. Soon, I may have to get a second for my Space Marines, cause you know, 8 years of collecting marines is a lot of bits.
This here, is my standard Fantasy box. As fantasy armies tend to have more spare parts and larger pieces (in my experience anyway), the larger compartments are better suited here. Again, each army has one each.
For size comparison, just check the picture at the top of the post. Next time you're near a Maplins store, pick one of these up for a few quid, you won't regret it.
- Gavin
Posted by
Gavin Schofield
at
01:44
0
comments
![]()
Labels: Gavin, Painting / Modeling
Heres a list of things that I find it hard to paint without. This is pretty much all I use for painting.
Lots of Paints
Whether it's a pyramid or a pile of paints, I need some kind of paint to put on my models. I usually use the GW and GW Foundation paints, as they are awesome. Valejo seem pretty good, but I'm not 100% convinc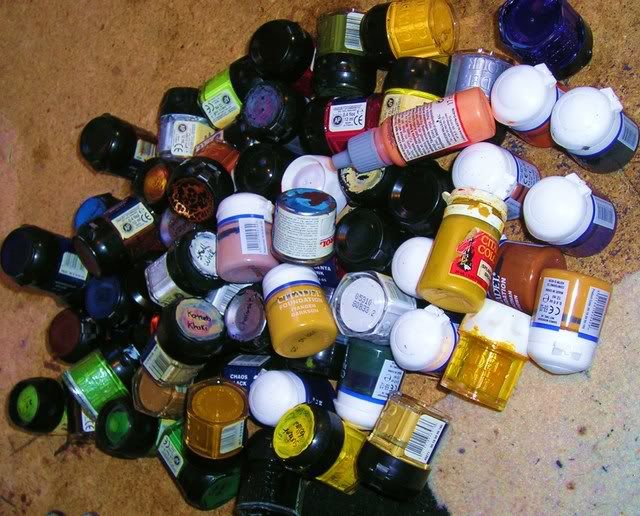 ed
ed 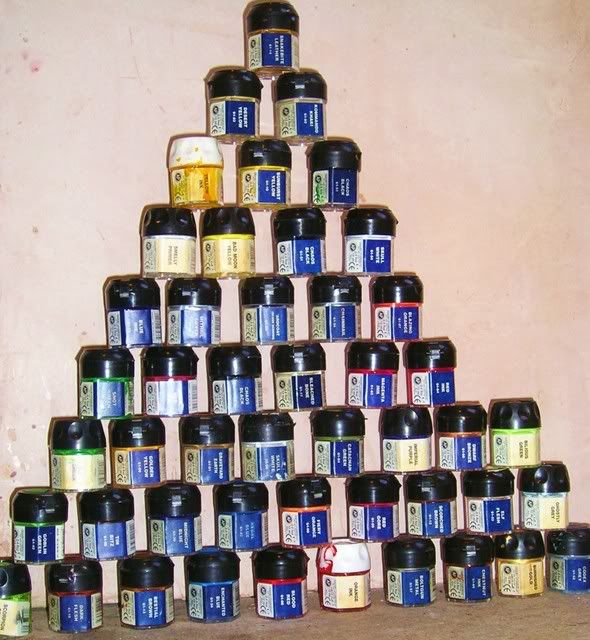 yet.
yet.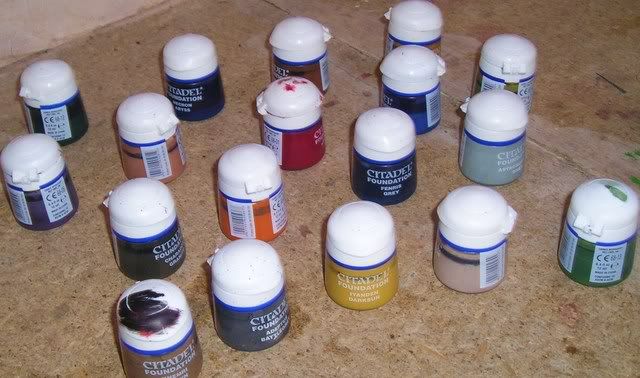
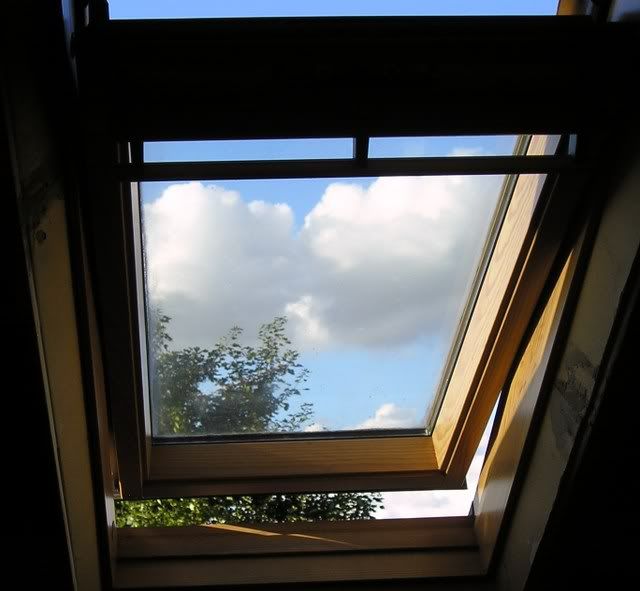
Natural Light
This is a must have. There are 2 sources of natural light - a window during the daytime, or a daylight bulb (available for a few quid from Maplins, where I work). I only use the bulb when it's too dark to use the window - I generally try to avoid painting by normal bulbs.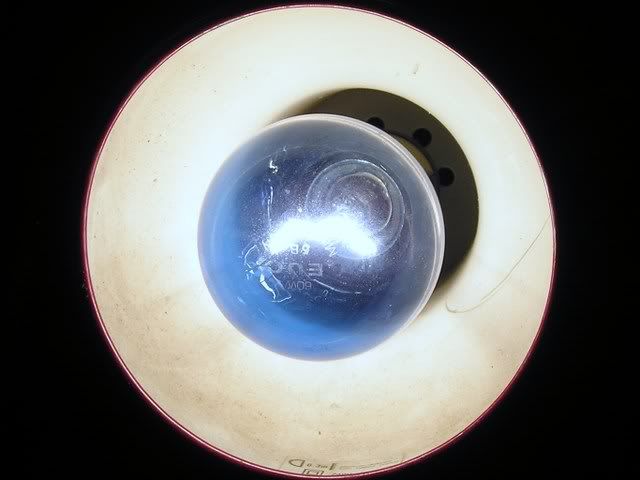
Brushes... and other stuff
I have 6 different brushes in varying sizes, which I alternate between. Tank, Large, Detail and Fine Detail are must haves - and I tend to avoid drybrushes. For very fine detail I use a Kolinsky Sable brush, which costs twice as much as a normal brush, but is also worth twice as much. In my opinion at least, Brad may disagree.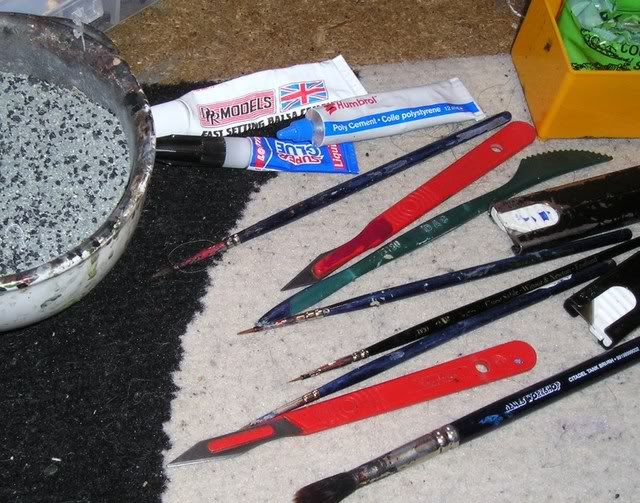
Well, that didn't take long - I think I'll get painting, so I have some more models to post.
- Gavin
Posted by
Gavin Schofield
at
19:06
3
comments
![]()
Labels: Gavin, General, Painting / Modeling